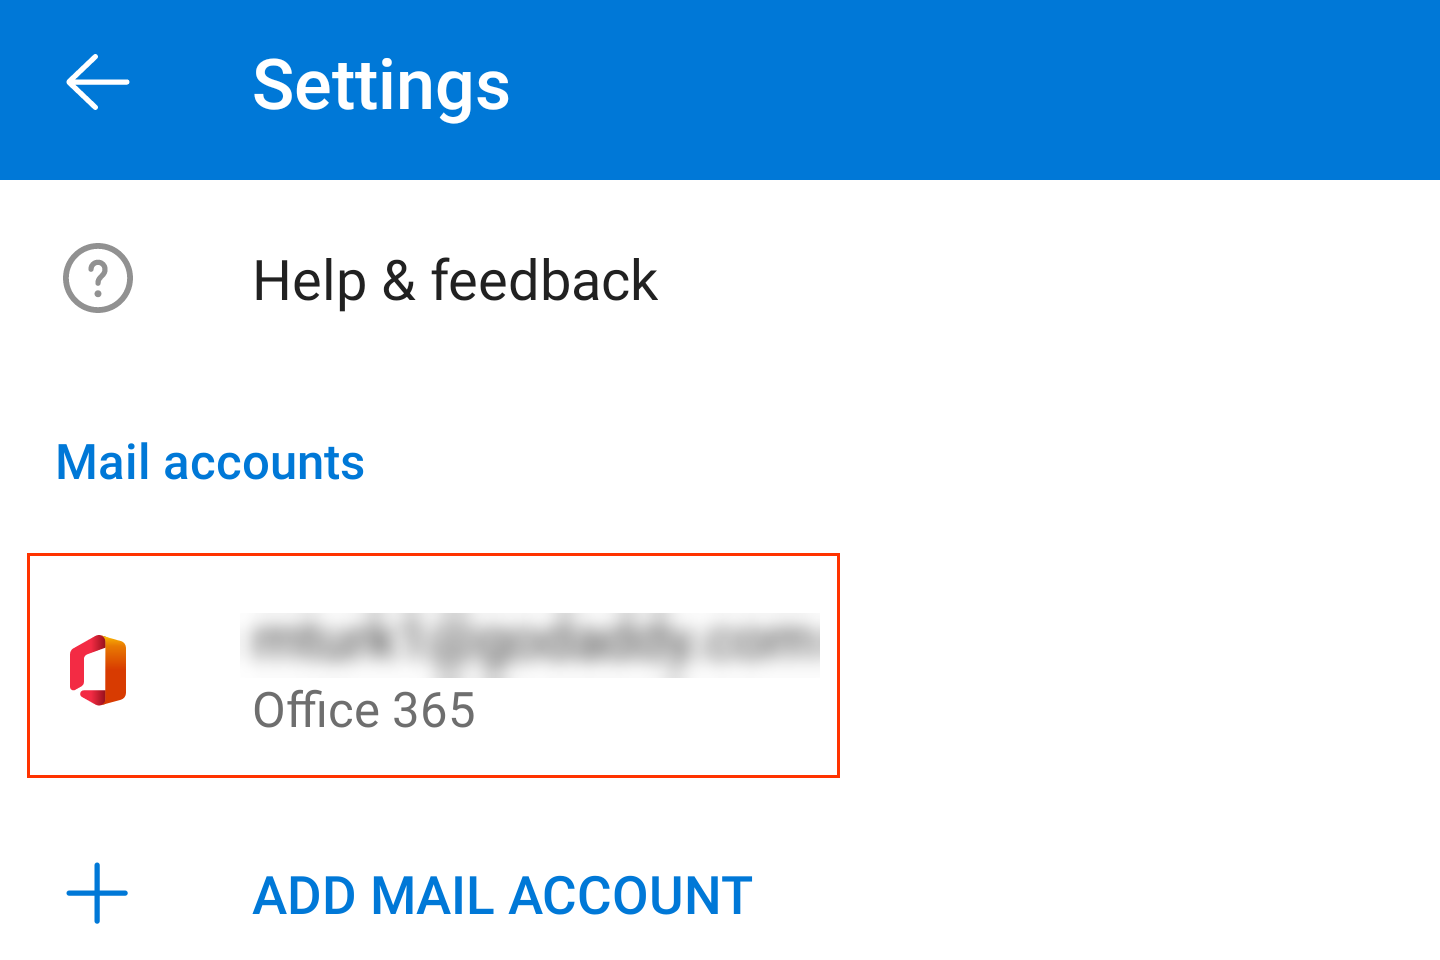
If you are using the native Android Mail App:
- Open your Android's Email app.

- Tap
 Menu > Settings.
 - Tap Add account.
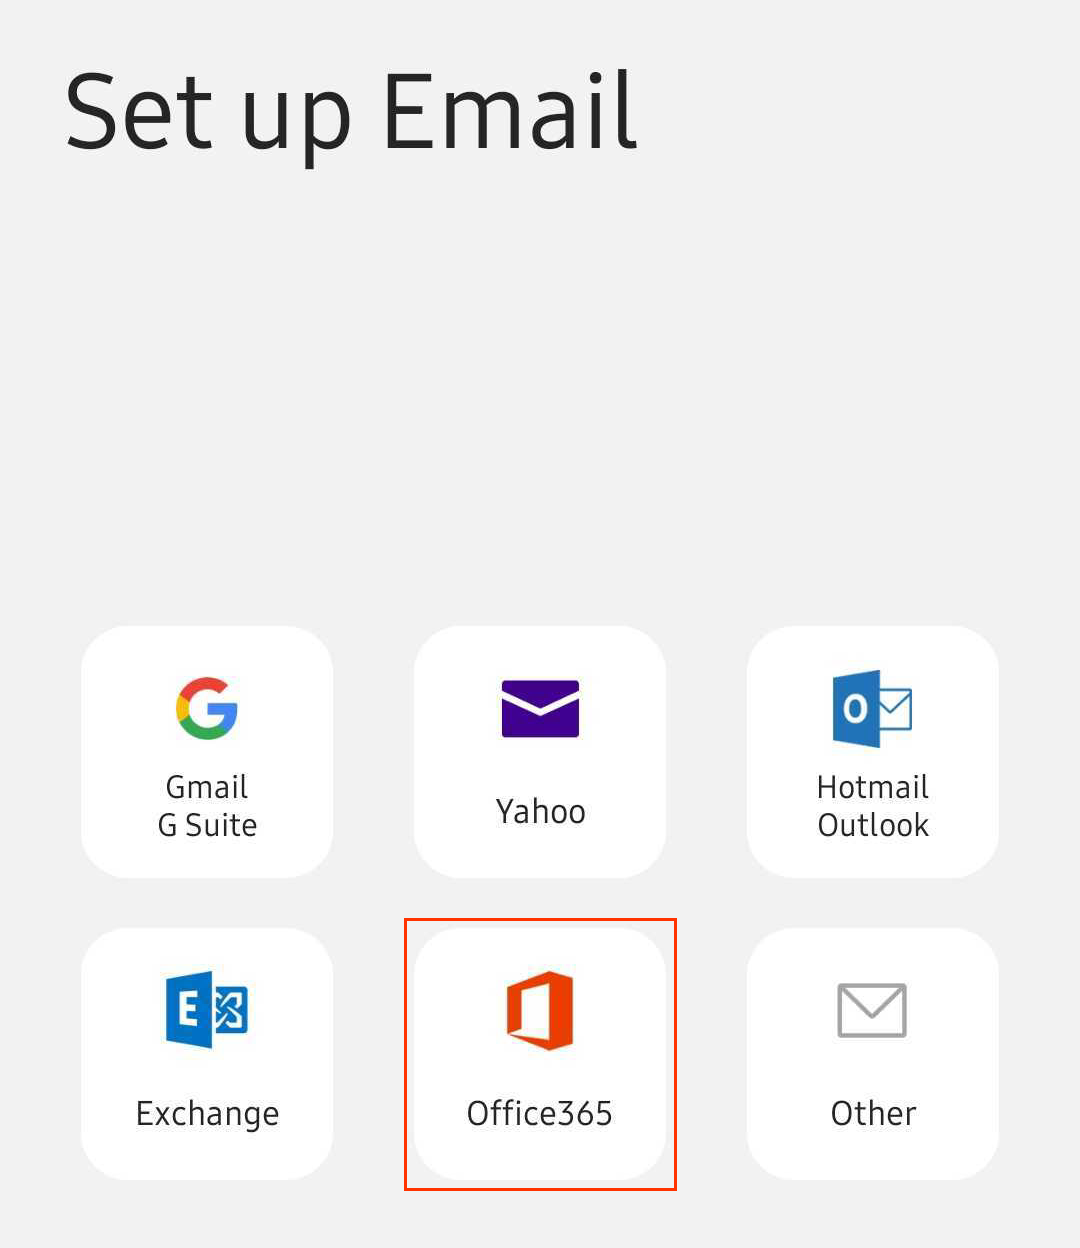
- Tap Office 365.
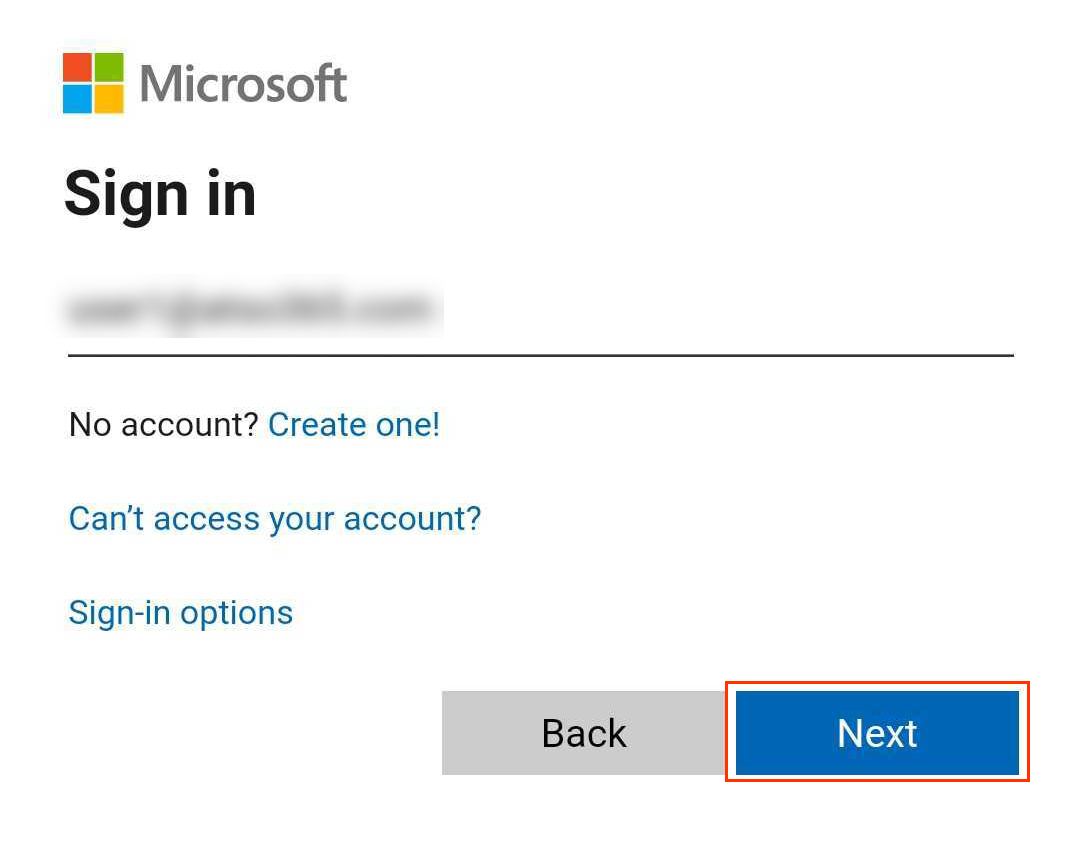
- Enter your Microsoft 365 email address and tap Next.
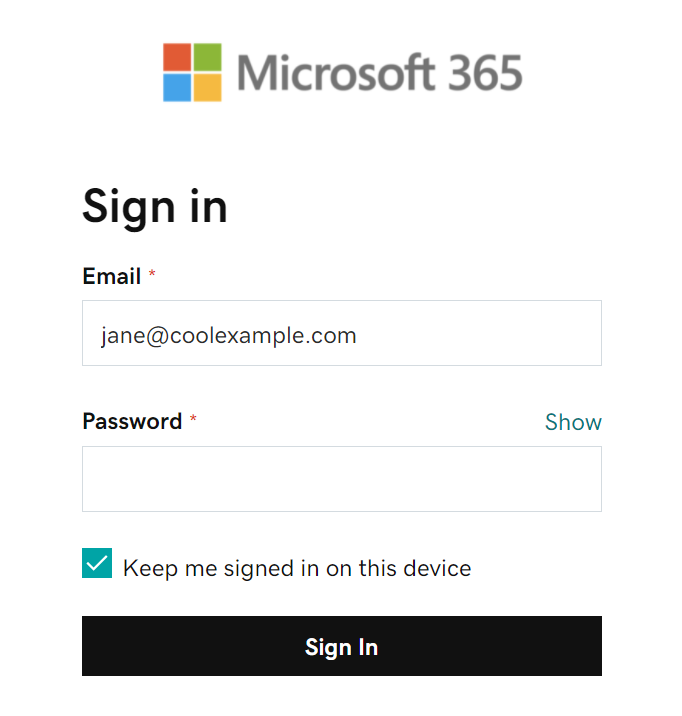
- Enter your Microsoft 365 Email and Password, and tap Sign In. You might need to choose your account type as Work or School to continue.
- If your admin enabled multi-factor authentication (MFA), verify your account or set up the Authenticator app.
Note: If Microsoft can't find your account, you'll be asked to enter your details manually:
• Username: Your Microsoft 365 email address
• Password: Your Microsoft 365 email password
• Server: outlook.office365.com
• Domain\username: \[Microsoft 365 email address] (example: \[email protected])
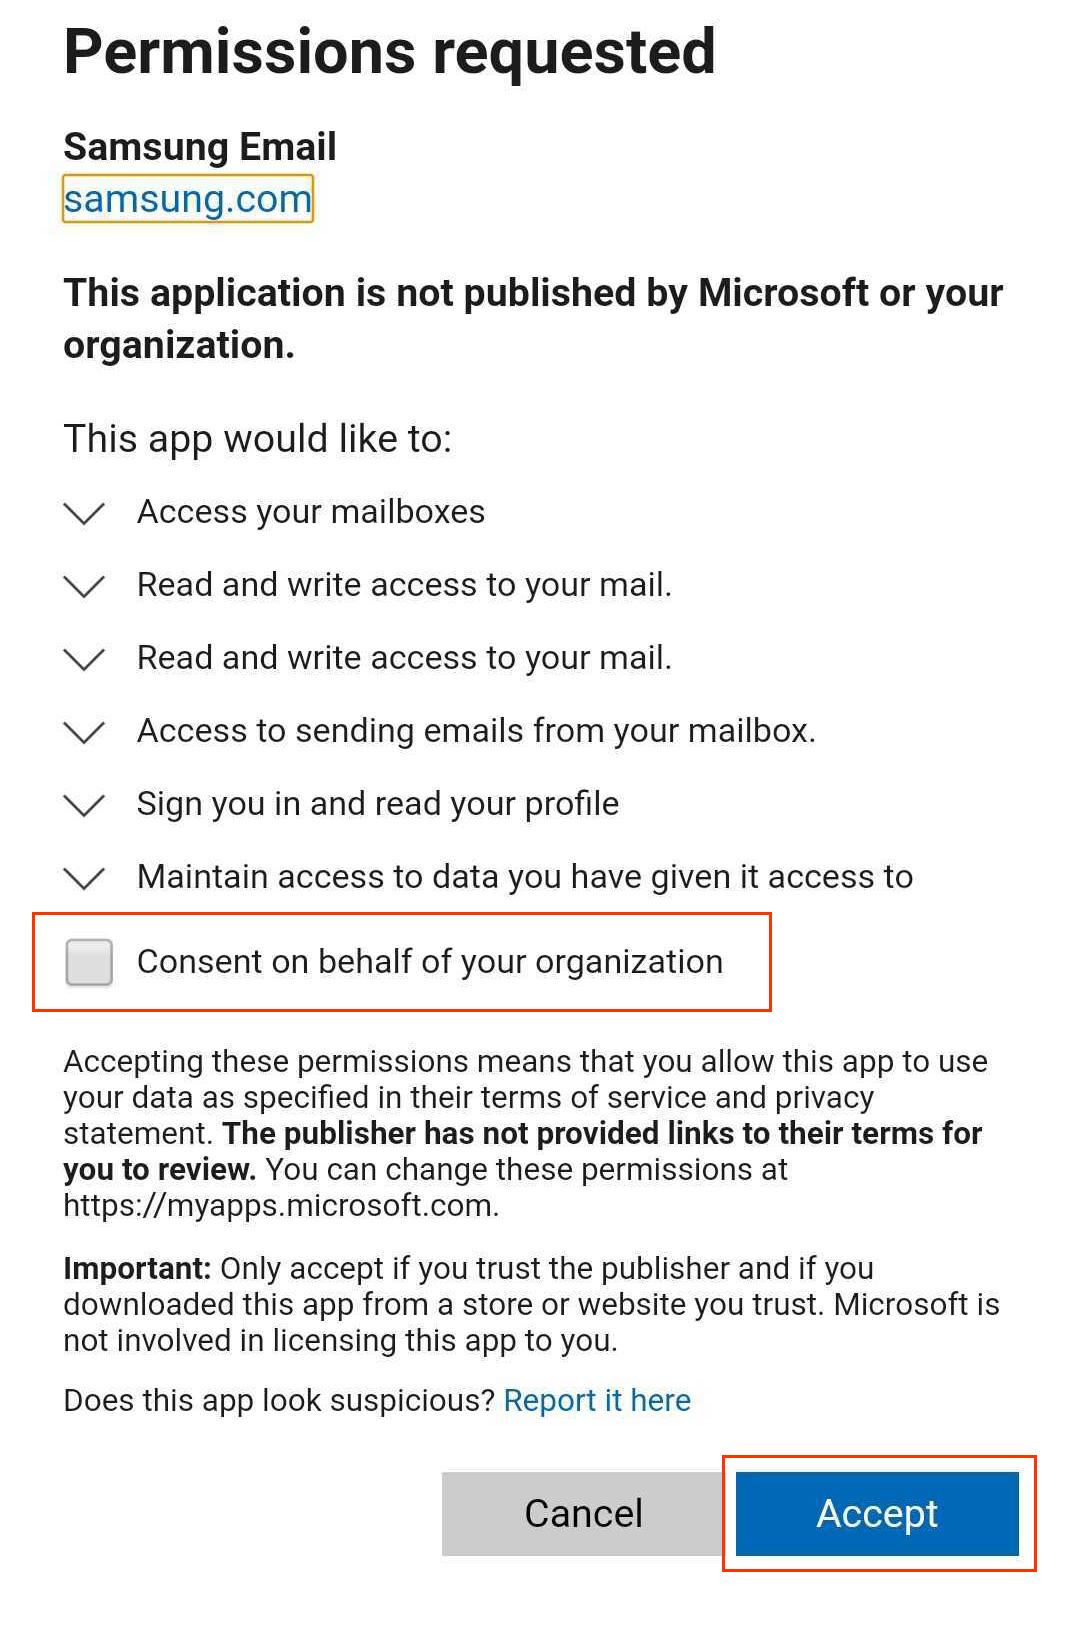
- Permit Samsung Email to access your email account. Select the checkbox next to Consent on behalf of your organization and tap Accept.
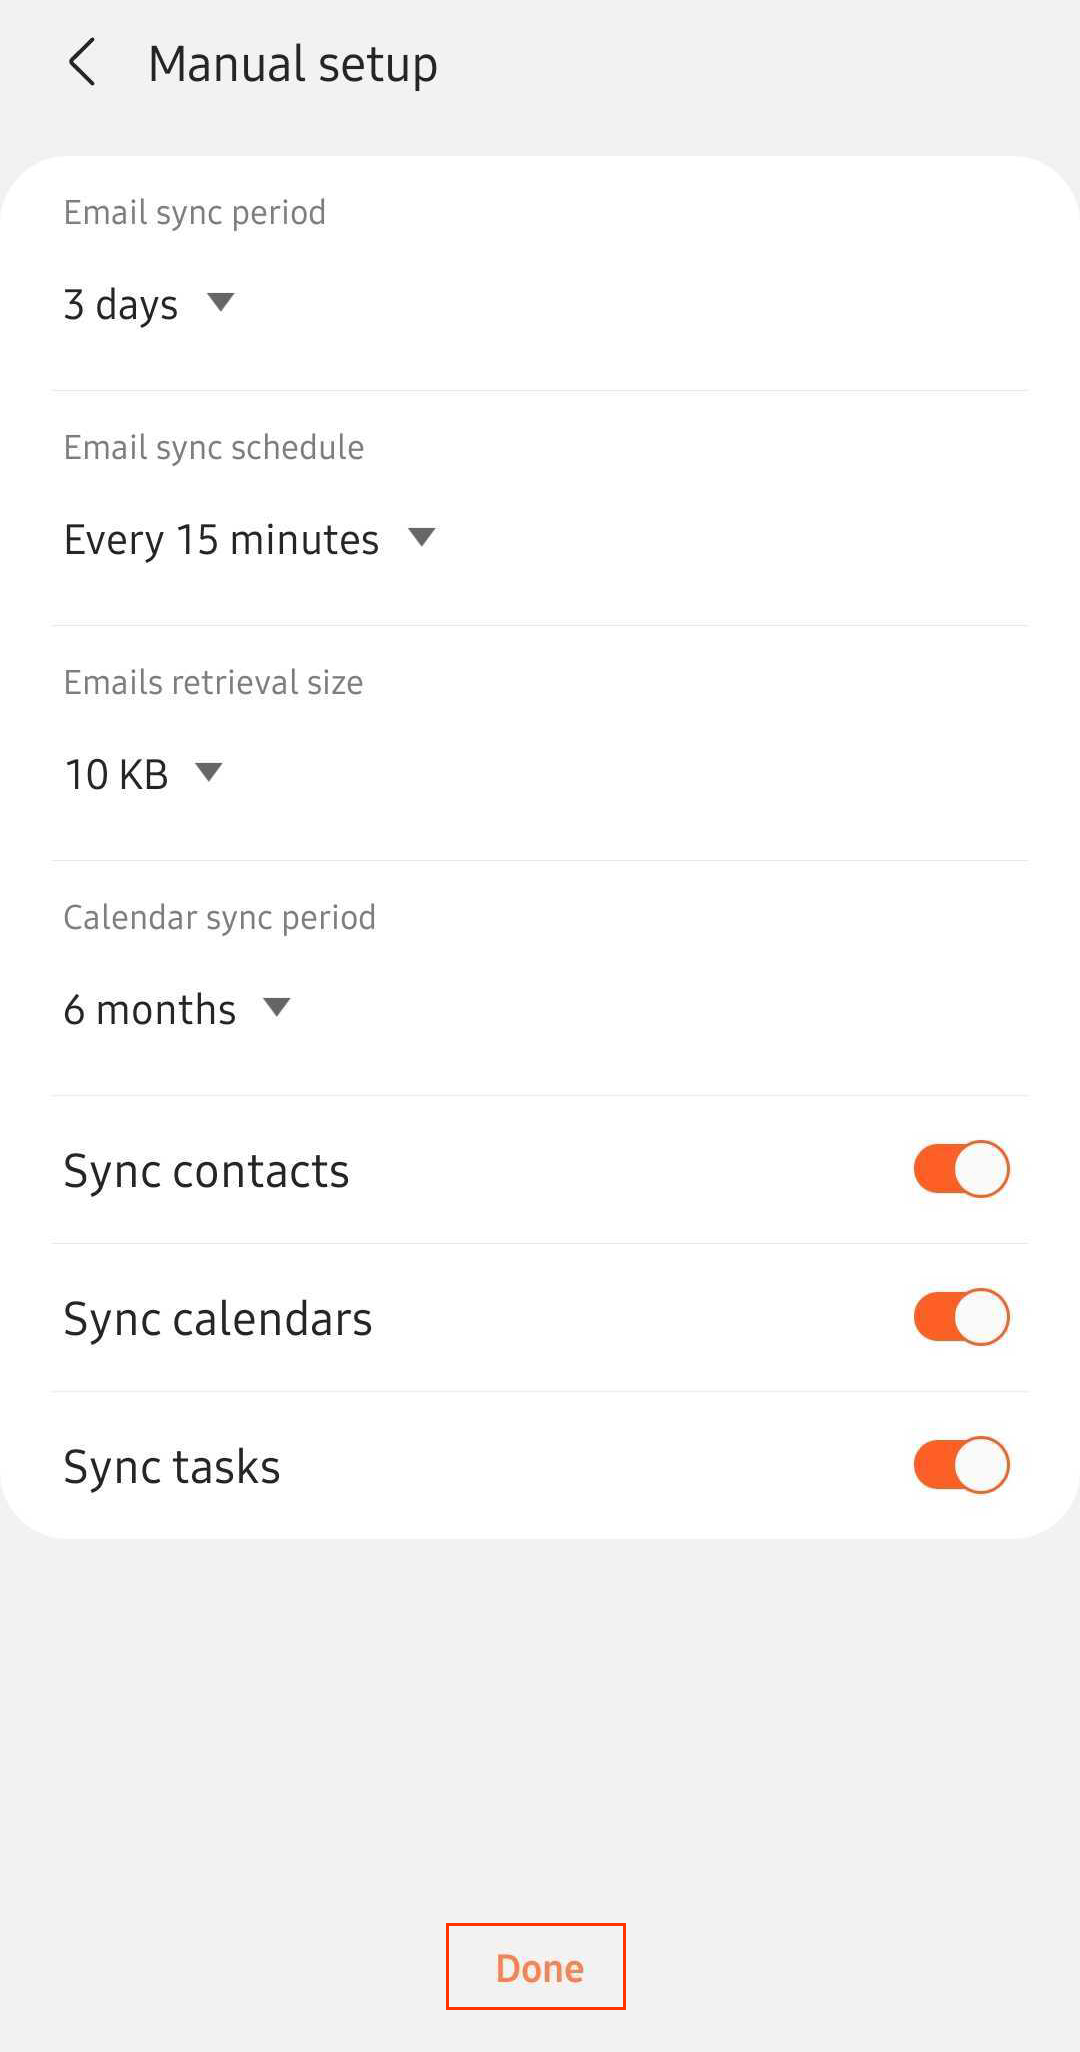
- The Email app automatically checks your settings. Under Manual setup, tap Done. You can come back and edit these settings at any point.
- Edit your Account name (if you want) and tap Done. This name is visible to recipients when you send email, so you might want to use your business name here.
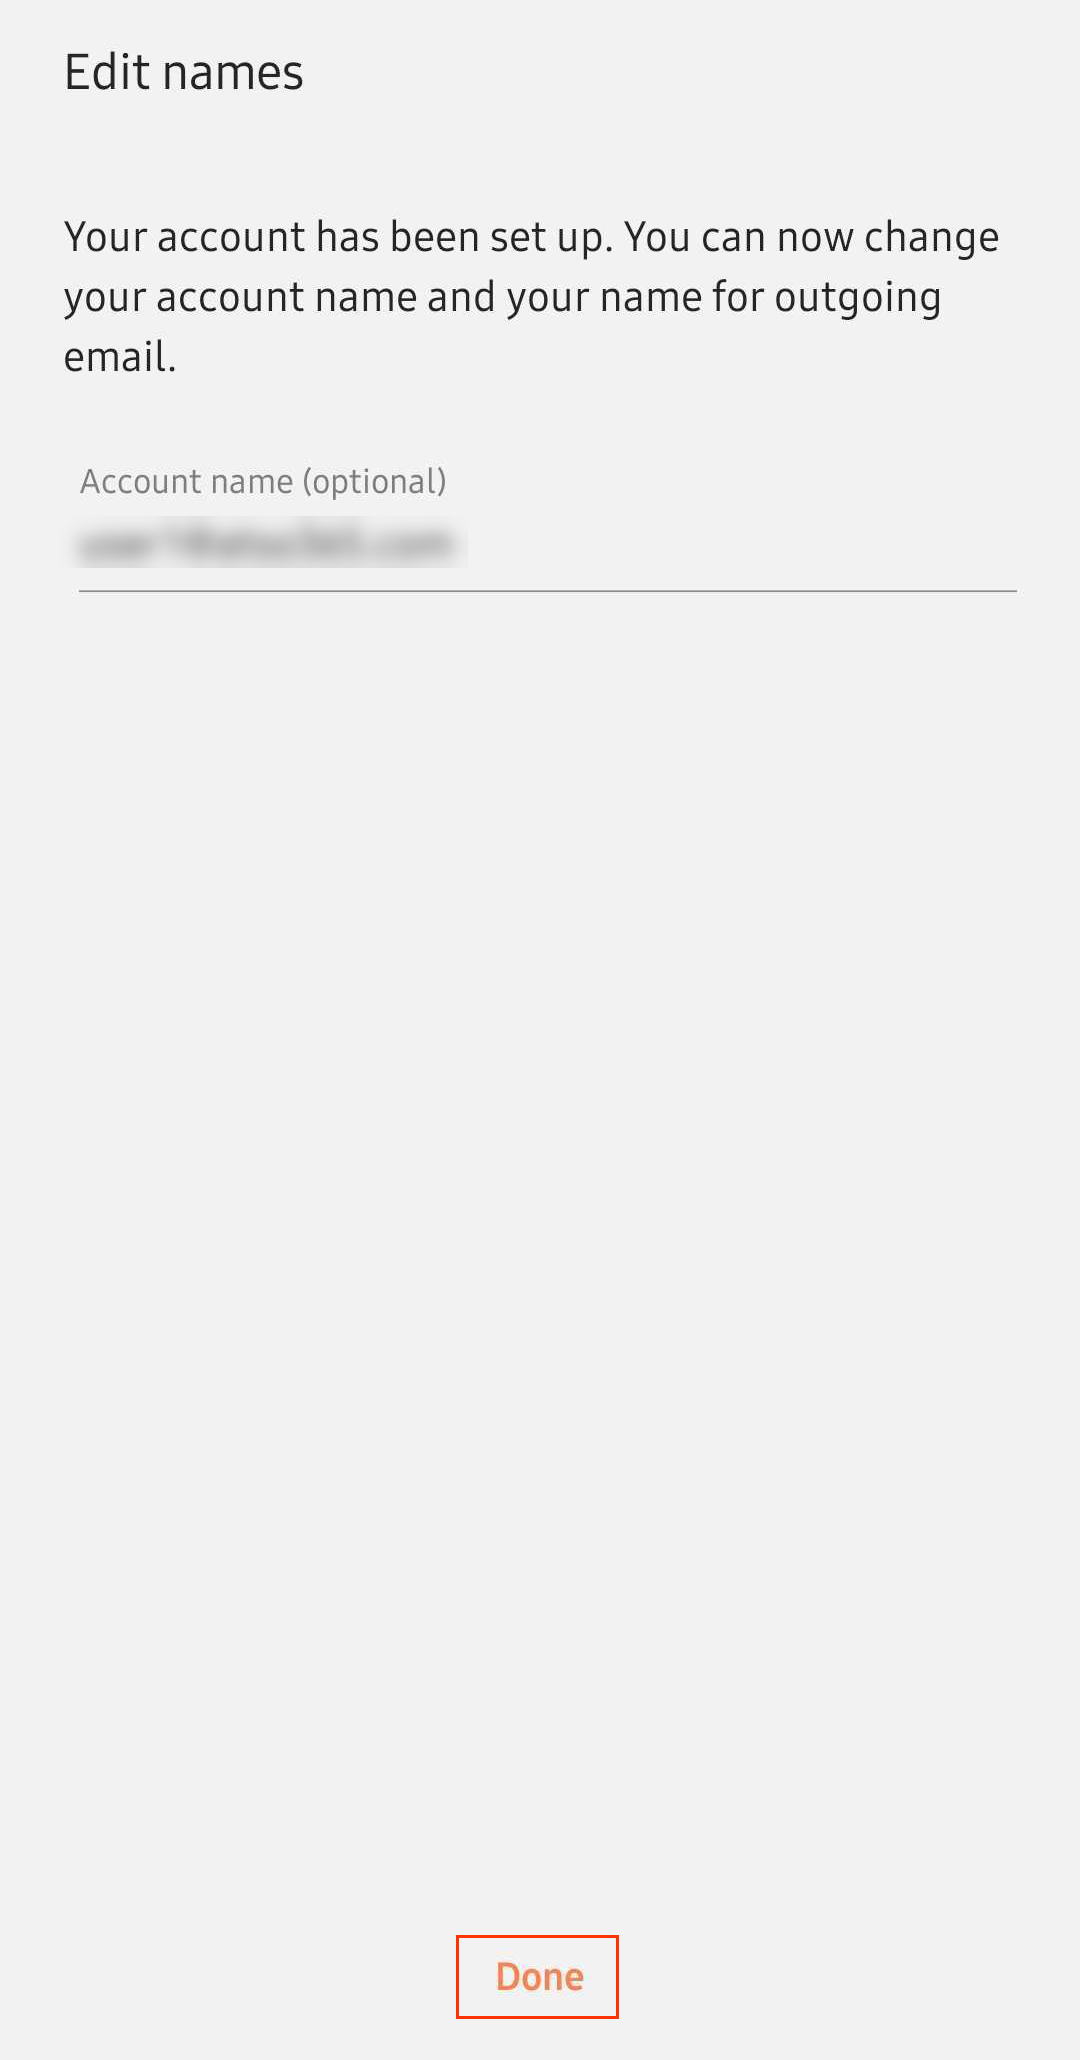
Your email is now set up as an Exchange account!
If you are using the Outlook app:
- Open your Android's Outlook app. (Don't have the app? Download it at the Google Play Store and follow these steps to set it up.)
- Tap Menu >
 Settings.
- If you're ready to remove your POP/IMAP account, tap the email address, then scroll down and tap Delete Account. Tap Delete to confirm.
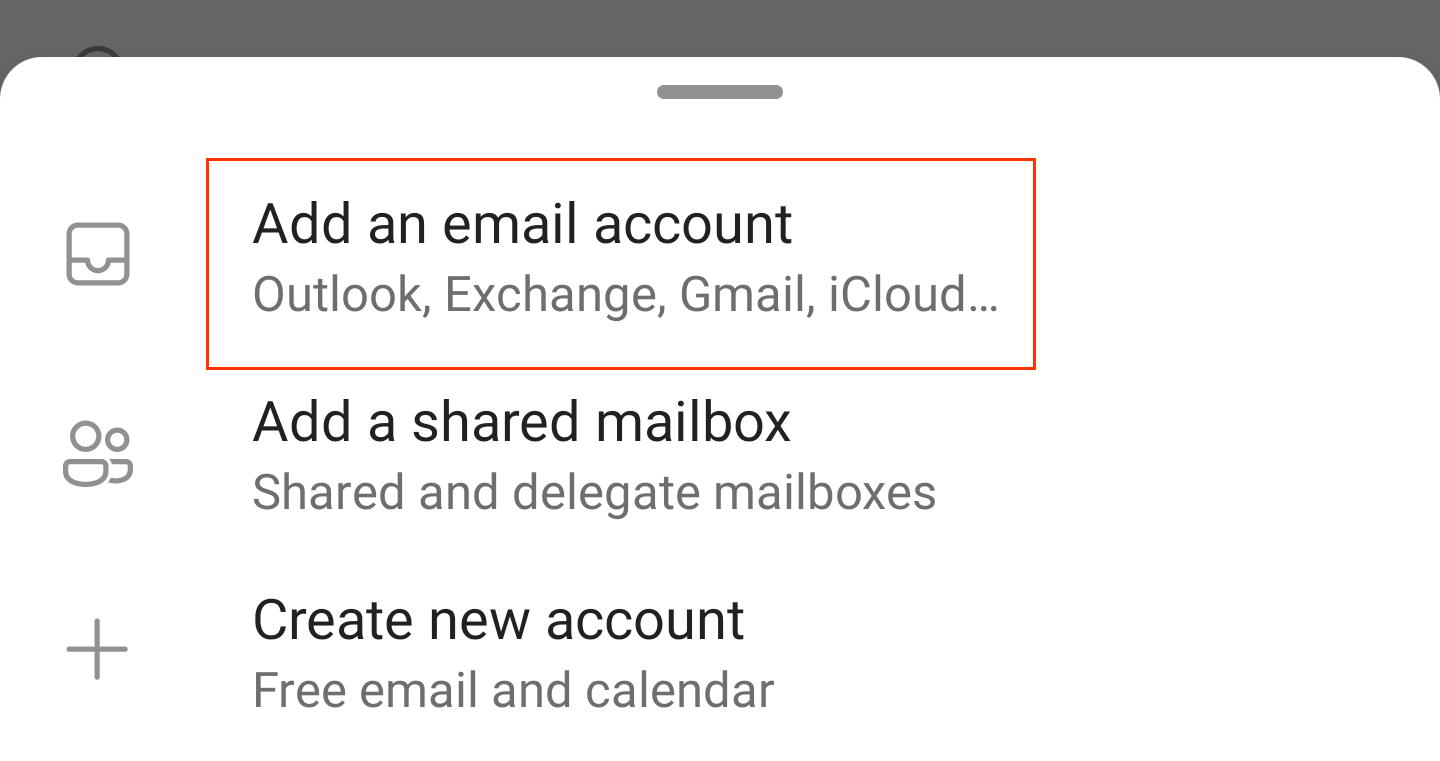
- To add your Exchange account, tap Add Mail Account > Add an email account.
- Enter your Microsoft 365 email address and tap Continue.
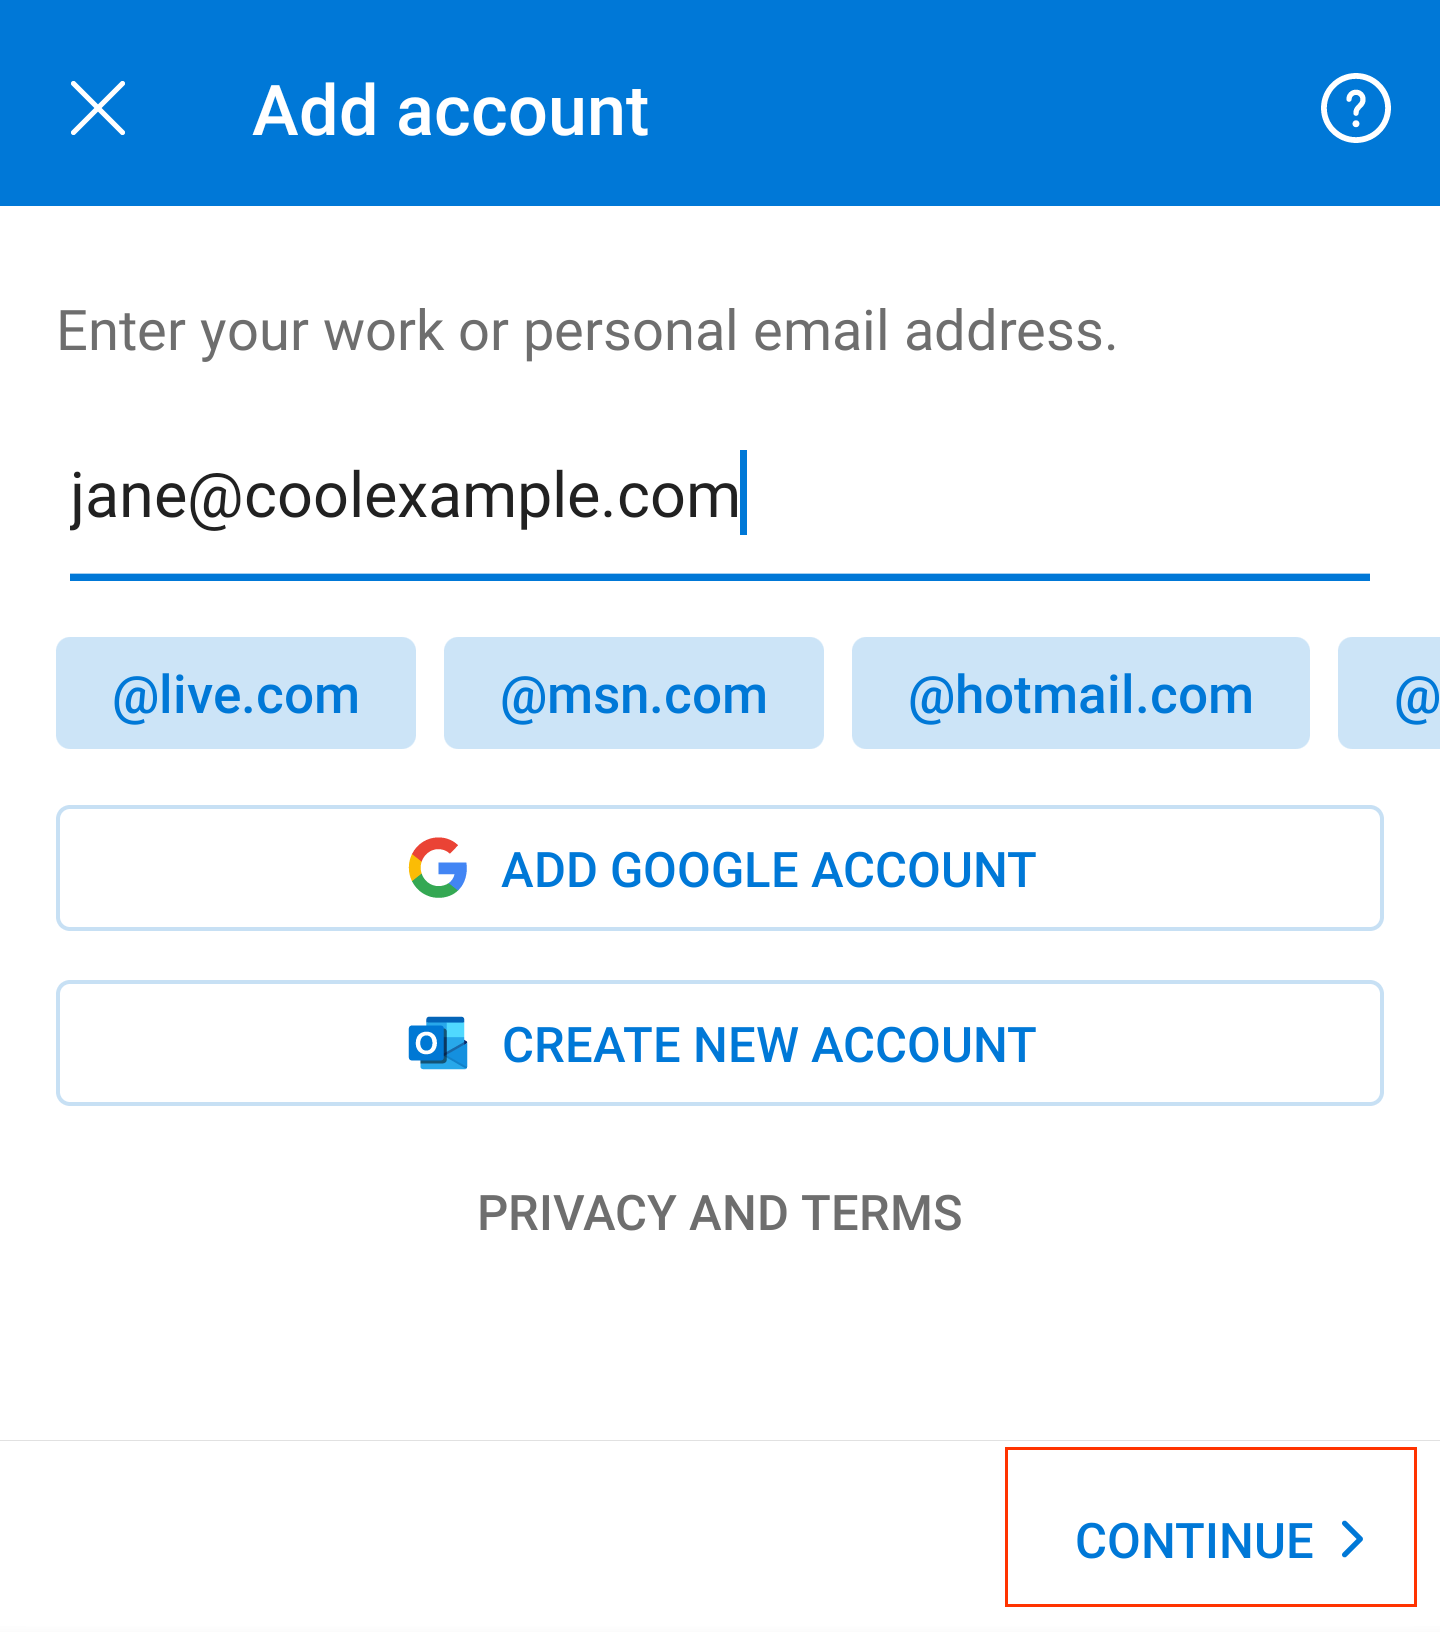
- Enter your Microsoft 365 password and tap Sign In. (You might need to choose your account type as Work or School.)

- If your admin enabled multi-factor authentication (MFA), verify your account
- Your Microsoft 365 account now shows in Settings. Go to your Inbox to check your email.
